
Importing Files into Your Scrivener Project
By Gwen Hernandez | January 30, 2016 |

Imagine having everything you need for your current manuscript stored in one place, easily accessible, organized, searchable, and—if you work on a laptop—fully mobile. With Scrivener, you can!
Scrivener lets you keep not only your writing, but also your notes, images, research, web pages, and other supporting materials right inside your project. You can even bring in work from another word processor, so you don’t have to finish your manuscript to start writing in Scrivener.
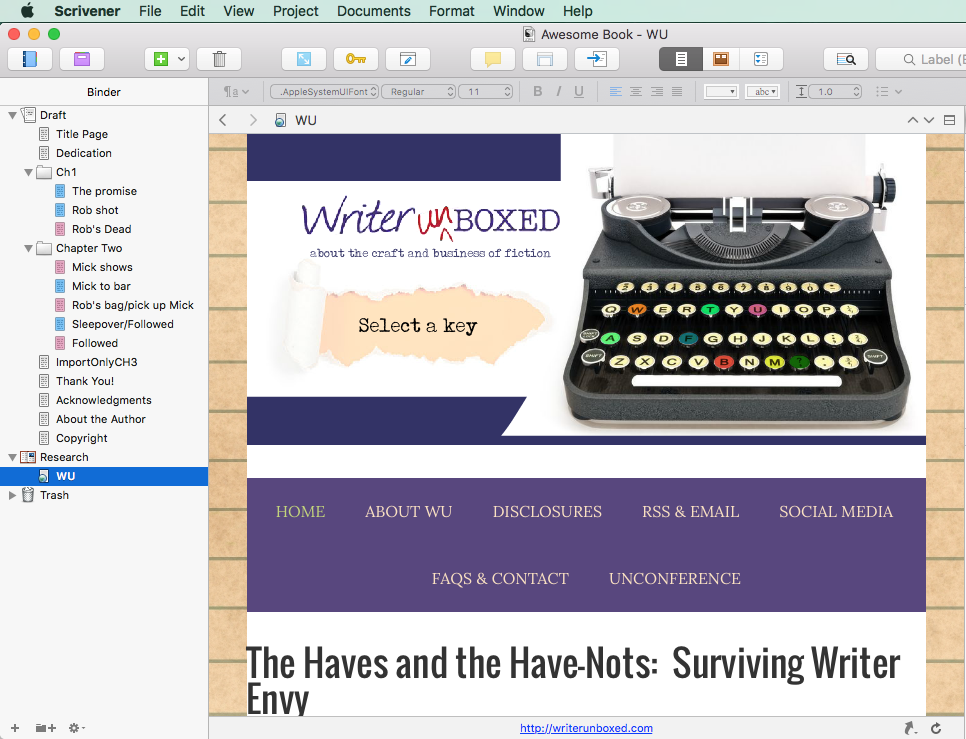
When you import a file, it appears in the Binder. The Binder is the left-hand sidebar that shows you every folder and file housed within your project, and allows you to add, view, move, rename, delete, or copy them. I like to think of it as a virtual filing cabinet where I can store and organize everything associated with a project.
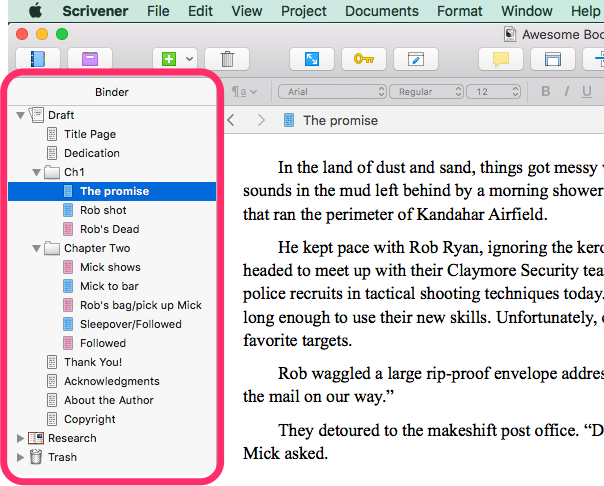
Binder – Mac
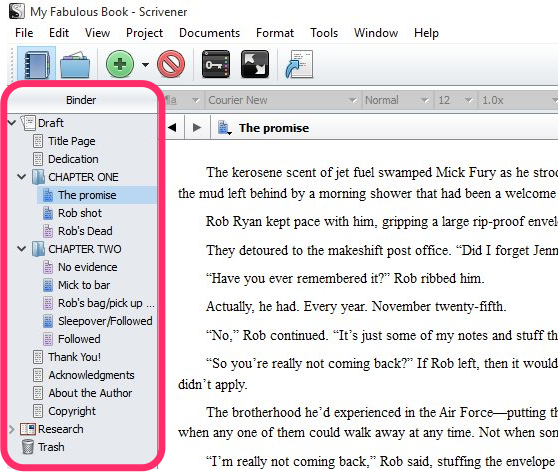
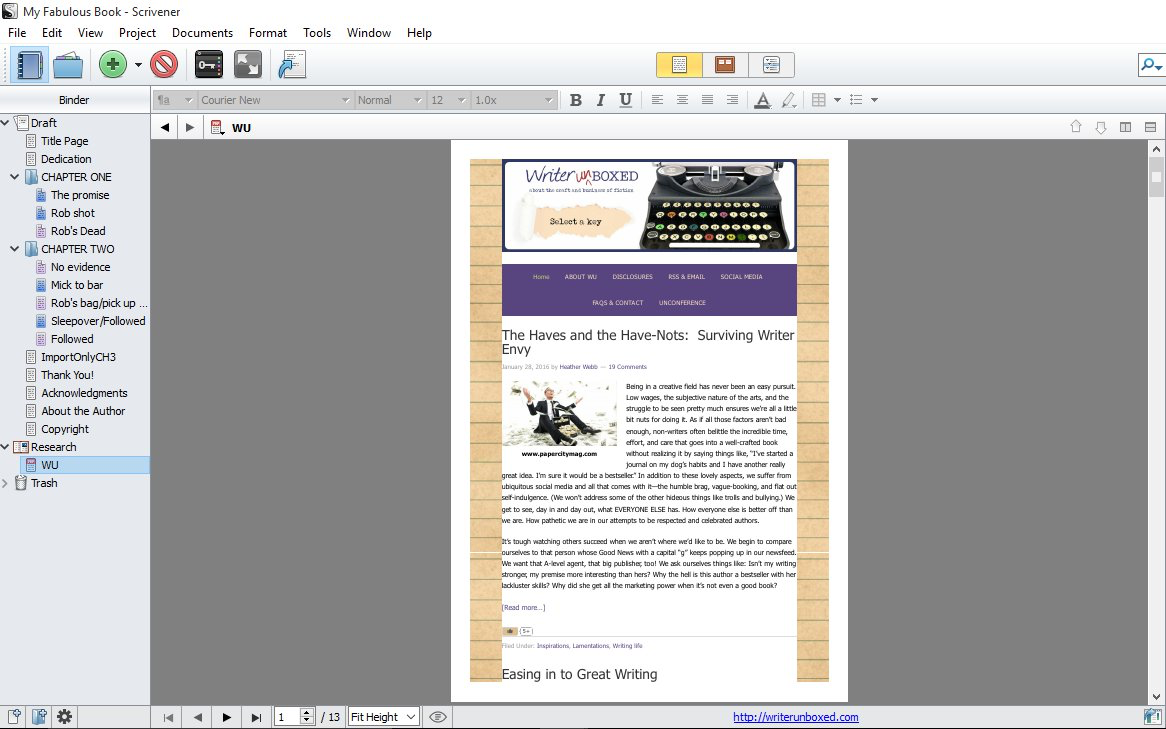
Binder – Windows
The Draft folder (also called Manuscript, Screenplay, or something else depending on which template you chose when you created the project) can only hold text documents. Image files, PDFs, web pages, and other non-text type files must be stored somewhere outside of the Draft folder (e.g. the Research folder, or a folder you create).
TIP: Don’t store things in the Trash folder. ;-) That’s where Scrivener sends files when you delete them (to give you a chance to change your mind).
Okay, ready? Here’s how to import anything into your project.
Importing a File
Want to import a document, image, PDF, spreadsheet, or presentation? This procedure works for anything except a web page.
1. In the Binder, select the folder where you want to store the imported file. (Or you may click in the blank area at the bottom of the Binder to import the file to the root level, i.e. same hierarchy level as the Draft, Research, and Trash folders.)
2. Go to File—>Import—>Files.
Alternatively, you may right-click the folder (Control+click on a Mac) and choose Add—>Existing Files.
3. Select the desired file(s).
4. Click Import. You may get a warning about converting the file to RTF format. Click Import again.
The imported file now shows up under the selected folder.
To edit or view the file, select it in the Binder. The file contents appear in the Editor (page of text in the center).
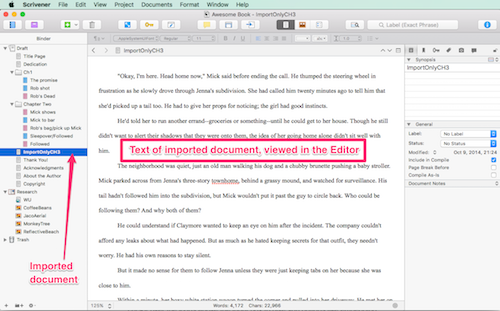
Imported document viewed in the Editor
Importing a Web Page
Importing web pages has become tricky now that many of them use Flash and Javascript and other tools to make them fancy. If you have trouble importing a web page with the following procedure, see the notes about Evernote and References at the bottom.
1. In the Binder, select the folder where you want to store the imported web page.
2. Go to File—>Import—>Web Page.
Alternatively, you may right-click the folder (Control+click on a Mac) and choose Add—>Web Page.
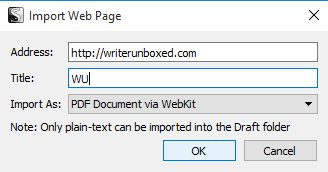
3. In the Address box, type or paste the address (URL) for the web page.

Adding a web page – Mac
Adding a web page – Windows
NOTE: Importing might take a minute or two. Pages with a lot going on—like flashing images and videos—may not import correctly.
4. In the Title box, type a name for the site.
5. Click OK.
The imported page appears in the Binder with a web icon.
6. Select the file in the Binder to view the web page in the Editor pane.
Remember, this page will not be updated even if the website is, but the hyperlinks in the page should still work.
Viewing an imported web page – Mac
Viewing an imported web page – Windows
Importing via Drag and Drop
Another way to import a file is to simply drag it from your file system (Finder on a Mac, Windows Explorer or File Explorer on a PC)—or from another open Scrivener project (cool, right?)—into the Binder. Here’s how.
1. Open the source, and move or resize its window so your Scrivener project Binder is visible behind it.
2. Locate the desired file(s).
3. Drag and drop the file(s) into your Binder, as shown below with several images.
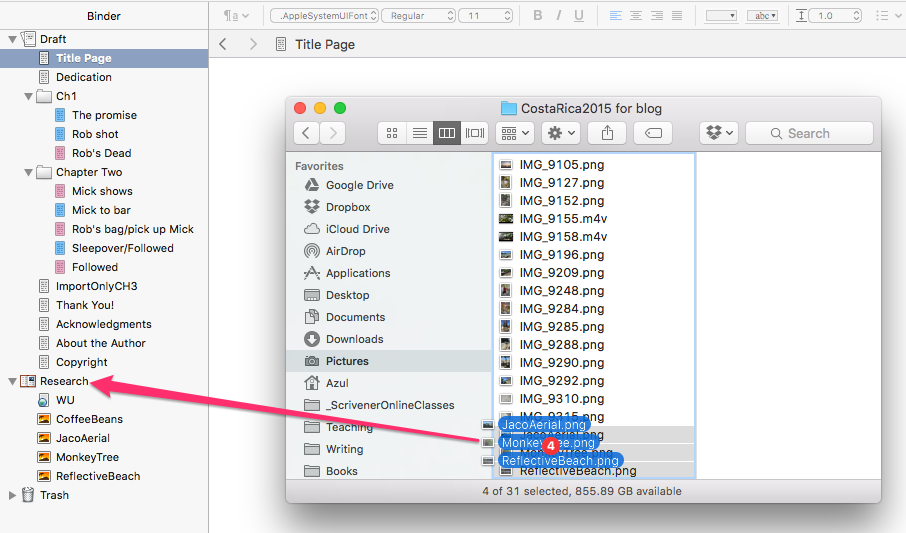
Drag files from Finder and drop in Binder
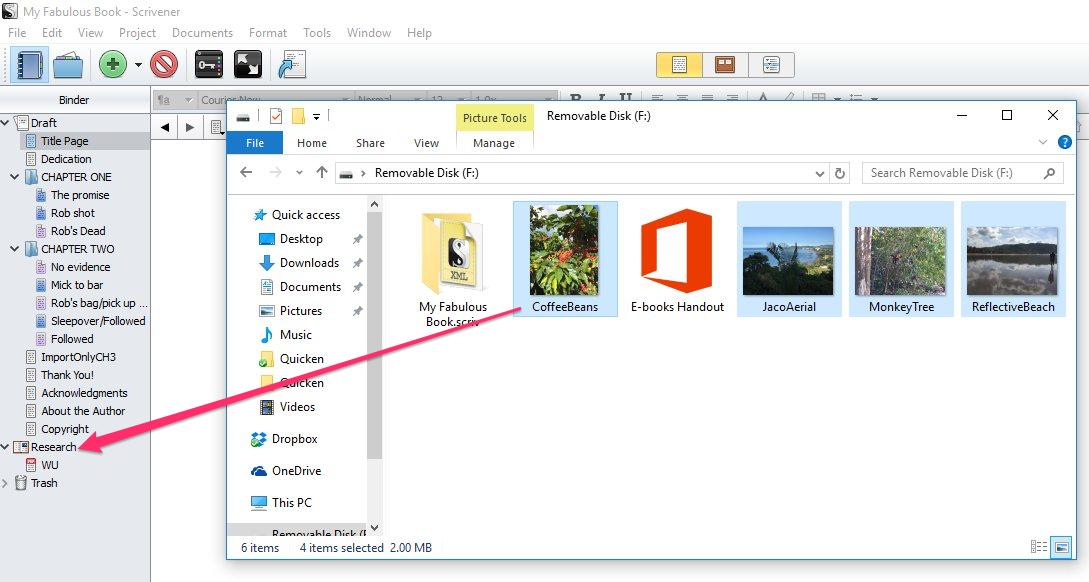
Drag files from File/Windows Explorer and drop in Binder
4. Select a file in the Binder to view it.
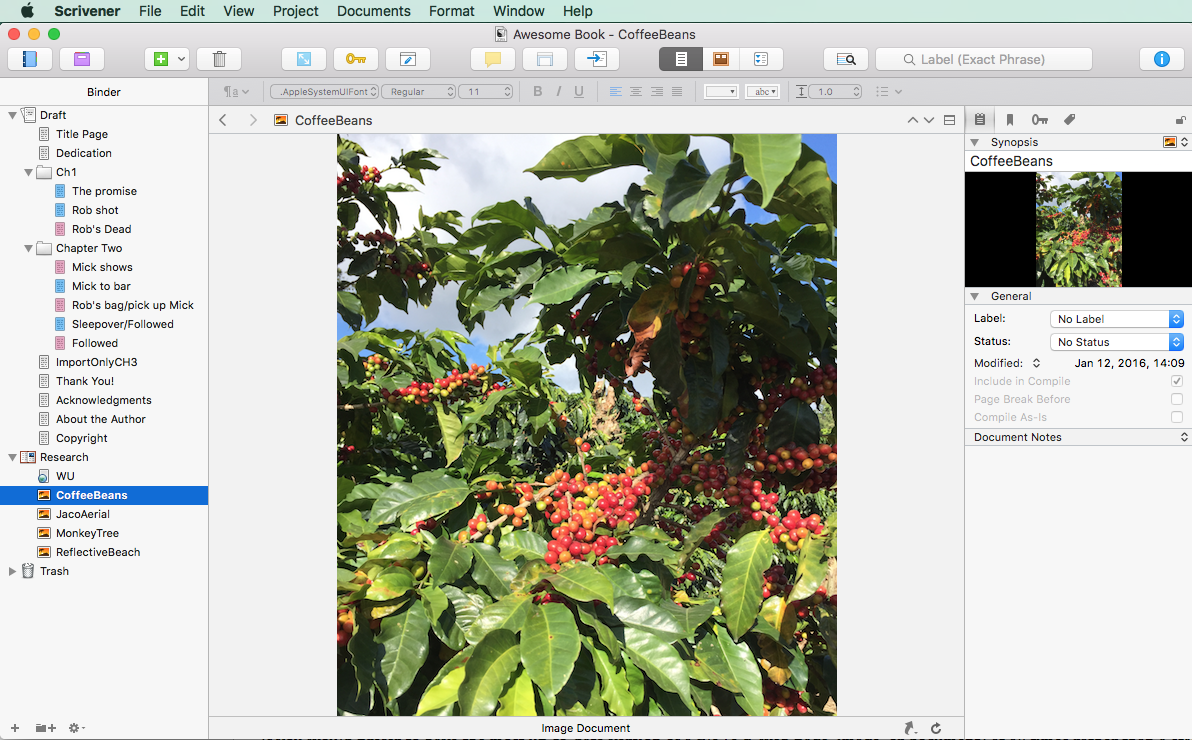
Viewing an image on a Mac
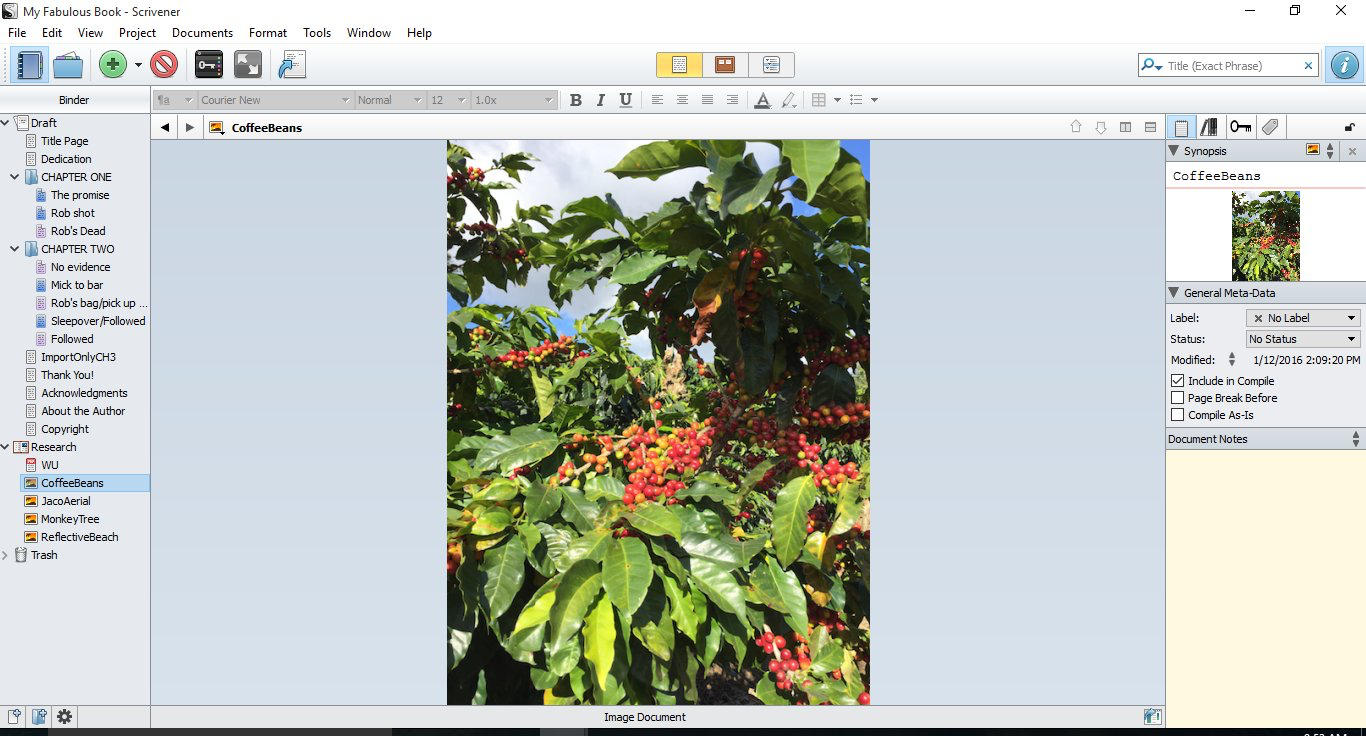
Viewing an Image on a PC
Using References as an Alternative to Importing
If you would prefer to have the most up-to-date version of a file (e.g. web page, image, or document) at all times rather than a static copy, you can create a reference to it instead of importing. This also works great for web pages that don’t import well.
Importing Notes from Evernote
Evernote—and similar programs like OneNote—excels at clipping web pages. If you’re struggling to import a page into Scrivener, an alternative is to clip the page to your notes program and import the note instead.
What questions do you have about importing files? Is there anything you’d like me to cover in a future post? Ask away.
[coffee]
Gwen Hernandez (she/her) is the author of Scrivener For Dummies, Productivity Tools for Writers, and romantic suspense. She teaches Scrivener to writers all over the world through online classes and an extensive library of blog posts. Learn more about Gwen at gwenhernandez.com.


Ooh I love Scrivener talk! Okay, Gwen, riddle me this. I normally write on my Macbook. But my company has graciously allowed me to load Scrivener onto my work PC based laptop. I travel a lot, so carrying two laptops is a drag. Can I work on one novel from both the PC and Mac without losing anything? I would, of course, save the file to Dropbox.
Question two: can you go to Literature & Latte and hover over them with a menacing scowl until they get an iPad version going? Seriously, I just want to edit on my iPad. I’ll pay with real money and everything.
Thanks for the post!
What a nice company, Ron! Yes, you can work from two different computers using Dropbox. For best results, I recommend you read this article on good practices to follow when syncing via cloud service: https://scrivener.tenderapp.com/help/kb/cloud-syncing/using-scrivener-with-cloud-sync-services.
LOL, on the iPad version. I think they have enough people hovering with menacing scowls. Now that Keith has taken over iOS programming, I think things will move quickly. Their goal is to have it out middle of this year. :-)
Thanks Gwen. I have now imported my work in progress into my Scrivener file. Will you be back to hold my hand the rest of the way or should I buy your book?
Great, Allison! LOL, I’d never tell you *not* to buy the book. ;-) Also, my online courses will be reopening soon. I’m changing them so that once they’re up, you can sign up anytime and start immediately, while still getting help from me. But, you might start with the built-in tutorial located under Help–>Interactive Tutorial. For many, that’s enough. Good luck!
Hi Gwen – Great article on importing.
Any suggestions on how to export / compile information that I’ve stored in the binder (ie characters, places, research, etc.)? I can only seem to figure out how to compile the draft of my manuscript. However, I want to print out a hard copy of my research as well (for a hard copy back up).
Thanks, Stephanie! Compile is only meant to work with things in the Draft/Manuscript folder (and Front Matter), but you can still export your supporting materials. Just select the desired file(s) and go to File–>Export–>Files. This also works when you just want to get a chapter or scene out of your project quickly, maybe to read through or send to a critique partner.
Hi Gwen –
Great article. Here’s a tip I learned the hard way using Windows-based Scrivener. Always import Word docs in DOC format, NOT DOCX. The X version adds random double punctuation into the Scrivener manuscript. It took me forever to figure that out!
David
David: Both versions of Scrivener have some import/export options you can fiddle with that might change that behavior. On Windows, it’s under Tools–>Options–>Import/Export in the File Format Converters section. Mac users can find it under Scrivener–>Preferences–>Import/Export, and choose from the tabs at the top. For Import converters, there’s a section about enhanced converters at the bottom of the Import page. Thanks for bringing this up! :-)
Thank you for your excellent post. It has reminded me that I need to talk to Scrivener about some serious issues I had. …I had loved the program, and maybe the issue can be resolved. It is worth a try.
Diana: They have a wish list section on the forum (https://www.literatureandlatte.com/forum/viewforum.php?f=4), but if it was more of a bug, you can always send tech support an email. Worth a try!
Thank you, Gwen. I did so last night after posting my comment. Time to get the things straightened out. I suspect the issue with the program was addressed in the past two years. And they are a very supportive group.
Hello Gwen, thanks. Just a thing, in Importing a Web Page, you should change the word Binder into Research, because it’s not possible to import Web Pages in the Binder, as you say in the introduction, only in the Research. I enjoyed your Scrivener for Dummies. Then I wrote a French guide for Mac. Recently in my blog, I just made a post about Importing a page web into Recherche https://gaellekermen.net/2016/01/29/scrivener-importer-une-page-web-dans-recherche/ Thanks a lot.
Sorry Gwen, I made a mistake, it is in the Draft or Manuscript we cannot import Page Web, not in the Binder, We can import Page Web in Page Front, in Characters, in Settings. Thanks a lot. I learned something more about Scrivener, so rich, this morning in Brittany, France :)
Hi, Gaelle! Glad you figured it out. Yes, you can import web pages, PDFs, images, and any other non-text files to any location in the Binder that’s not in the Draft/Manuscript folder. Even directly into the Binder at the same level as the Draft and Research folders. Thanks for sharing!
Merci Gwen, Scrivener is so rich ! Nice to meet you :)
Hello Gwen,
Busy yesterday and didn’t get to comment, but please keep the Scrivener posts coming! (Love the graphic at the top.)
My problem at the moment is with tabs when writing in editor. Some scenes, I’ll hit the return key and get no tab. Then another time, I’ll get a three-space tab. Another, a five-space tab. I have your book so, if the answer is there, please direct me to the right spot. (And does this affect the compile?) Thanks so much!
Glad to hear it, Carmel! Are you talking about first-line indents for your paragraphs? You can adjust that in the default formatting and then apply to all existing documents. It’ll also be used in all new documents automatically. That will give you consistency throughout. I talk about setting up the default formatting in my book on page 101, but I’m not sure I ever addressed going back and applying it to existing documents. However, I have a post on it here: https://gwenhernandez.com/2011/03/29/tech-tuesday-formatting-tips-for-scrivener-2-x/.
The formatting you set up in the Editor–either manually for each document or through the process I linked to above–won’t affect the compiled version unless you choose Original from the Format As drop-down menu in Compile. The Original option uses the formatting as you have it in the Editor, rather than overriding it. Hope that helps. Thanks!
Thanks! I’ve been changing font, spacing, etc. manually. I’m a little confused by the Formatting page, but I will get your book out and work on it, since it would be so much easier to have it pre-set.
Good to know it doesn’t affect Compile.
Hi Gwen, how is the book cover incorporated for an e-book? I drag and drop the cover I want, which is a PDF (I also tried a Word doc), into the E-Book folder under the Front Matter. The PDF is there under the “Cover” icon, but when I compile, the cover remains the generic, “My Name My Great Novel.” I searched Youtube, and Google and no one seems to have this problem. I hope you have a solution. Thank you.
Hi, Jeff. For an ebook, the cover image just has to be somewhere in the Binder, but it also has to be an image file, like JPG or PNG.
Once you’ve imported your cover image, then you have to open the Compile window and select the Cover tab (visible only if you’ve chosen EPUB or MOBI output). Click on the Cover Image drop-down menu and choose your image from the list. That’s it! Good luck.
THANKYOUTHANKYOUTHANKYOUTHANKYOU!!!!!!!!!!!!!!!!!! Converting the PDF to the JPEG was the key. Gwen, I have spent over a week literally pulling my hair out, ready to throw my computer out the window. Thank you so very, very much. If you’re ever in L.A., I owe you a huge cup of coffee! Thank you again, and again and again!
Awesome, Jeff. I’m glad that worked for you. :-)
Hello again, Gwen. I tried not to bother you with this but there’s only one google response to this question and it doesn’t work. I’m trying to attach the cover for a PDF. I have tried a jpeg and a png and every box I check under the compile window makes things worse. I hope you have a solution. Thank you again.
Hi, Jeff. It’s no bother! The only way to include a cover image for any file type other than an EPUB or MOBI is to add a blank document in the Binder and insert the cover image into the document. Then just make sure you include the cover document when compiling.
You have a few options for how to insert the image into the document. This post has more on that: https://gwenhernandez.com/2013/05/28/tech-tuesday-inserting-images-in-scrivener/. Hope that helps!
You’re awesome! Coffee sent.
Aw, thanks, Jeff! :-)
Ugh! Gwen, this may be a bother. Oh. Reverse engineering time, while writing this to you I actually found a solution but it’s jerry-rigged and I really would like to know what I’m doing wrong. So far it doesn’t matter (front matter), but if I’m inserting a document into the binder, how does it know that it’s the book cover and to place it at the front of the book? Which right now doesn’t matter because I can’t get the image into anywhere. When you say “…add a blank document into the Binder…” does that mean inserting a new “text” into the Binder. I did that, then tried to drag a PNG and/or a JPEG into the new “text” and out of desperation I also tried a new “Folder” and this is the error message with text and folder: “Media files cannot be dragged into the Draft folder. The Draft folder can contain text and folder documents only. To add an image to your Draft, either drag an image into the text of one of the documents, or place the cursor where you wish the image to be placed in the text and use the Edit > Insert menu.” Well…
When I open the Edit>Insert menu
the “Image From File” and the “Image Linked to File…”
are not highlighted. I’ve tried all the things I know but they won’t highlight.
Also, when I Compile for a PDF, is it Manuscript Format or still E-Book format? I’ve tried each individually and together. I’ve tried compiling for Microsoft Word thinking I could just add the cover myself but the images inside the book are either missing or 200 times bigger than they should be. Okay, so I adjusted all the images in the Word doc and saved it as a PDF…ta-dah. Ugh!
Jeff: Yes, adding new document is adding “new text” to the Binder (under Project>New Text). To insert the image into that document, you need to select the document in the Binder so you can see its blank page in the Editor (where you type). Then drag and drop the image from the Binder (or your computer file system) onto the blank page. If you’re getting that error, it means you’re trying to drag the image file itself into the Draft folder, rather than into the document that’s in the Draft folder.
If Edit>Insert isn’t an option, I’m guessing you didn’t click into the text document in the Editor first. Make sure you can see your cursor blinking on the blank page. Scrivener grays out options when it doesn’t know where the result would go.
Scrivener won’t know the document is your cover file. It outputs the documents in the order they appear in the Binder, so if you want your cover file to come first, it needs to be at the top of the Draft/Manuscript folder. (If you’re using a Front Matter folder that’s outside the Draft folder, the cover document needs to be the first document in the Front Matter folder, and you need to check the option to Include Front Matter on the Contents tab of Compile.)
When you compile for PDF, the format you choose depends on what you want the final output to look like. If you want it to be more like a paperback book, choose Paperback Novel. If you want it to look like something you’d submit to an editor or agent, choose Standard Manuscript Format. The Format As drop-down menu is all about the visual layout of the final product. The Compile For drop-down menu is for choosing the outputted file type (PDF, DOCX, EPUB, etc.).